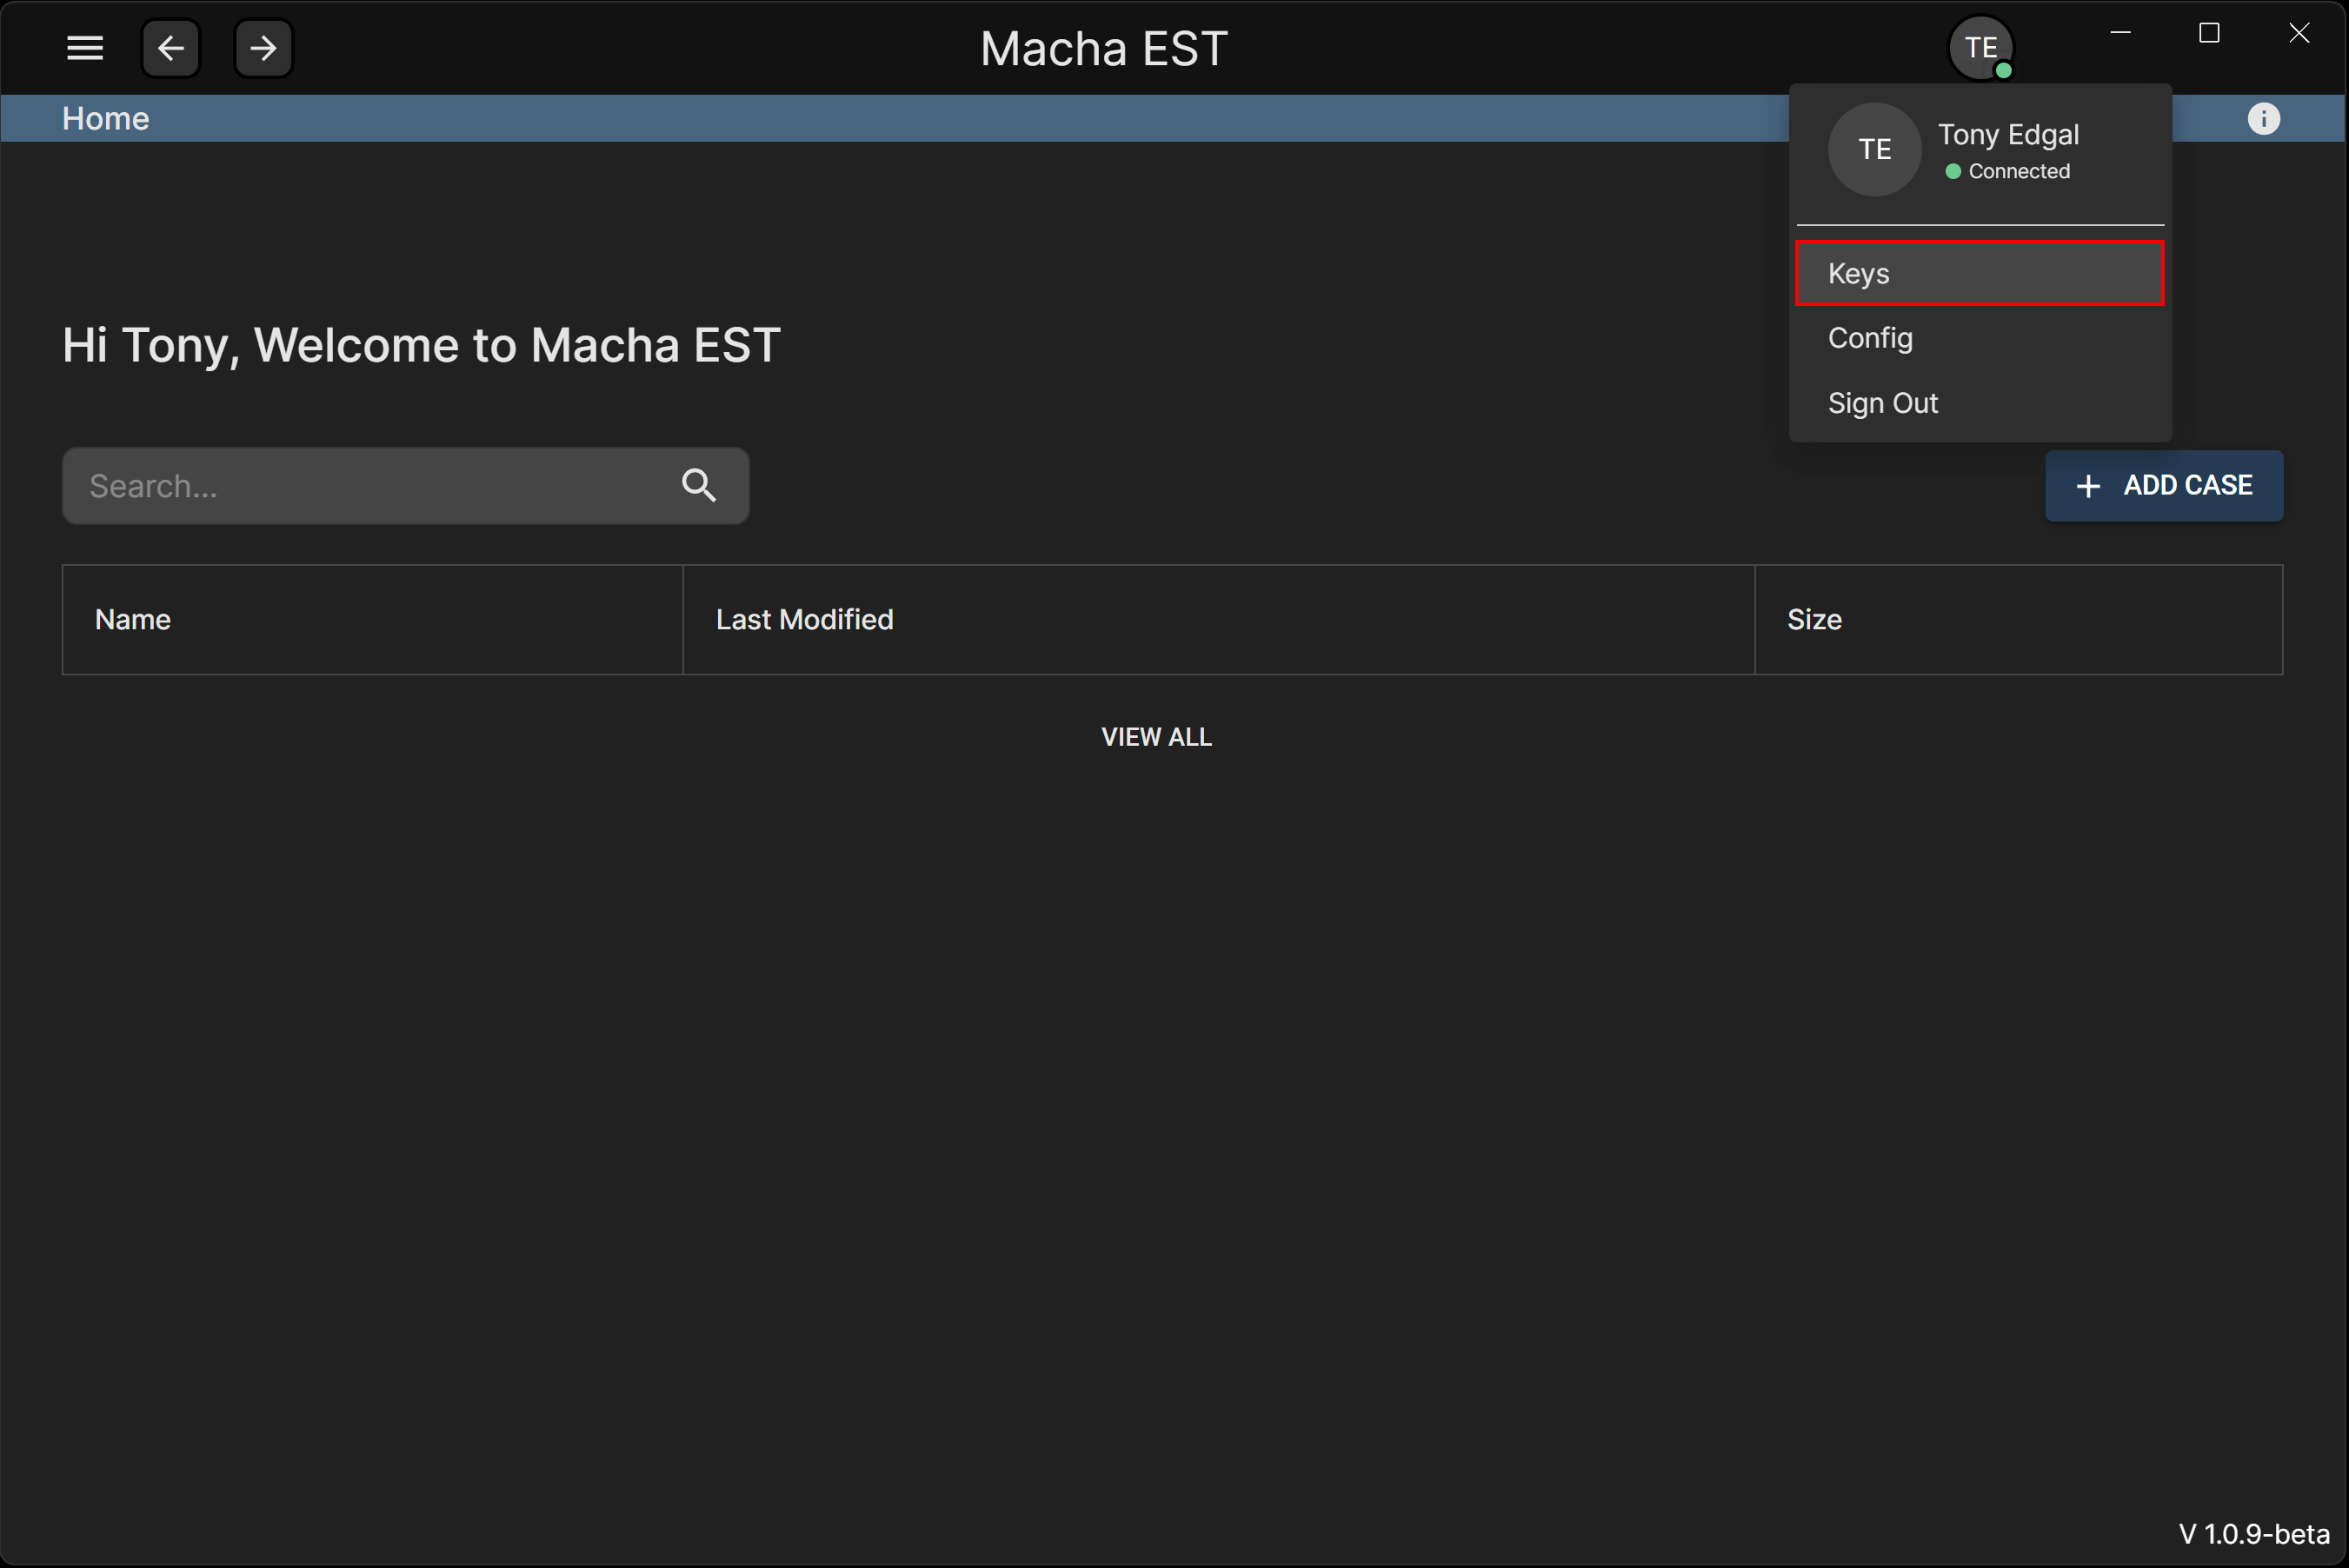
Keys Management
Pre-requisites
You’ll need to have Macha EST installed and configured. For more information, please refer to:
Generating Keys
- After signing into
Macha ESTfor the first time, you will automatically be directed to theKeys Managementpage.
If you already have a key pair generated and saved, you will be navigated to the
Homepage instead.

- To generate a new key pair, click on the
Generate Keysbutton.
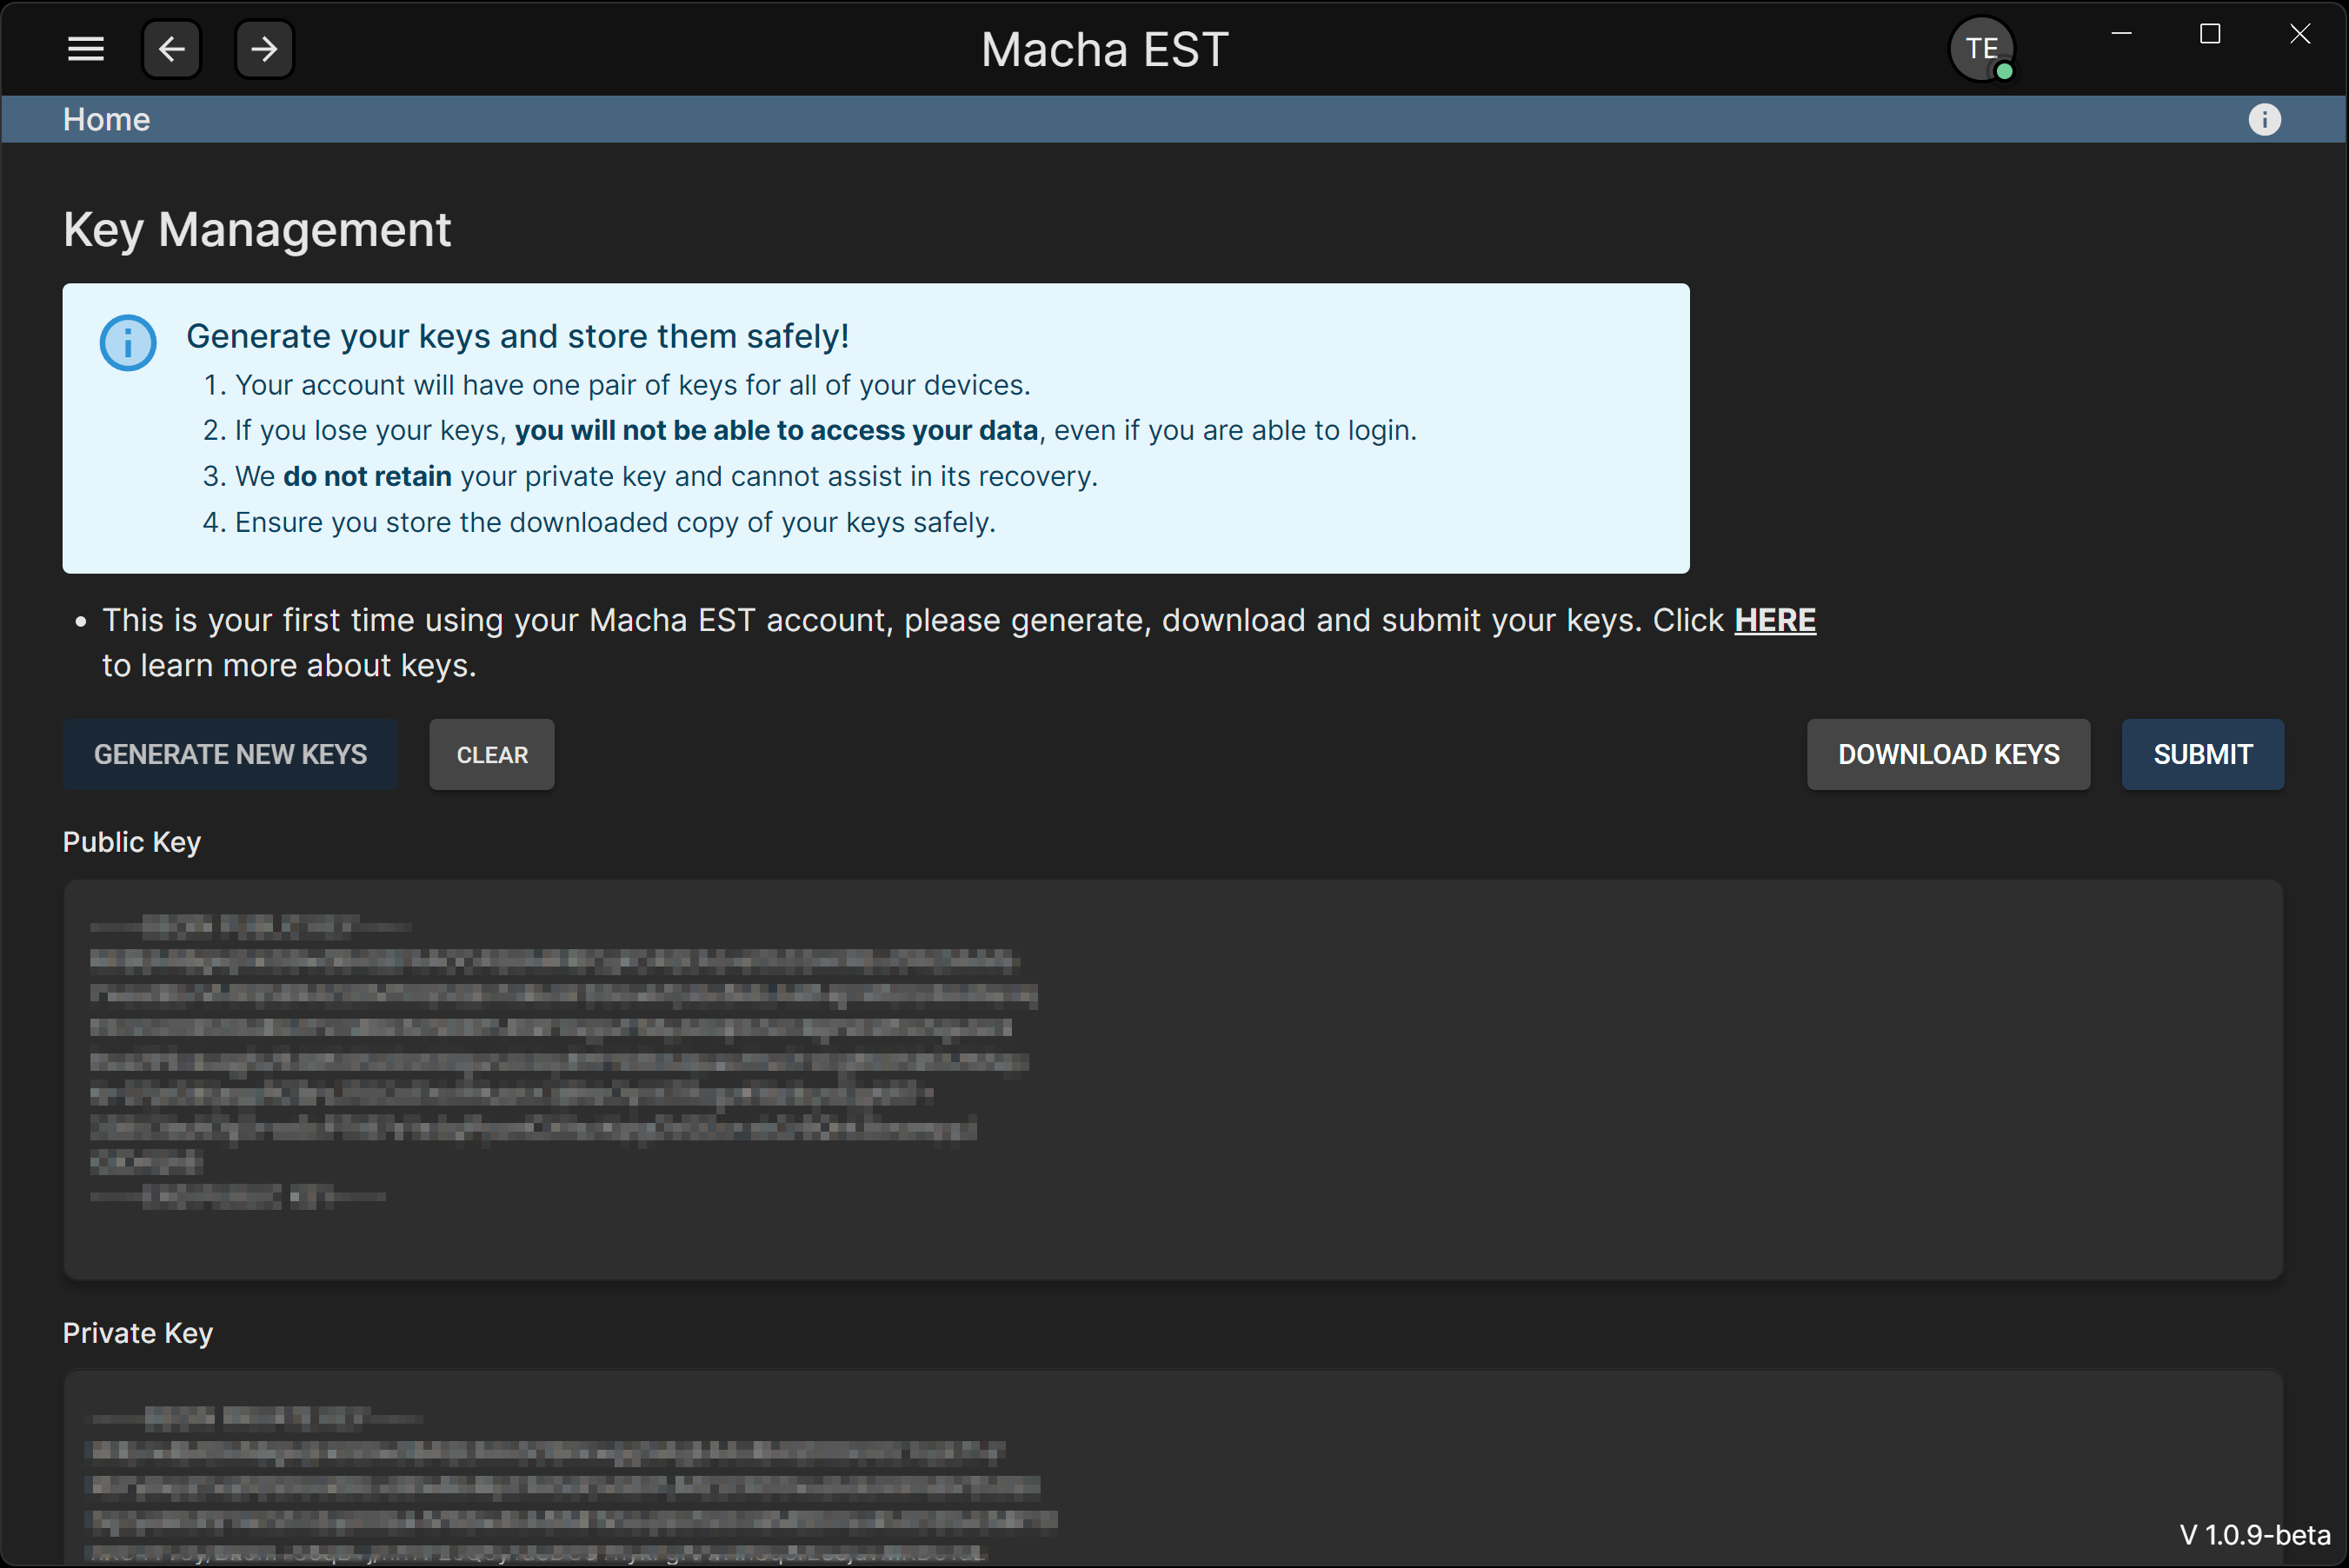
- The next step is to download the generated key pair. Click the
Download Keysbutton to download the key pair and store it safely.
This is crucial because we do not store the private key for security reasons, meaning we cannot recover it.
The generated key pair is your key pair accross your devices. When logging in from a new device, you will be prompted to upload your existing keys to gain access to your data on that new device.
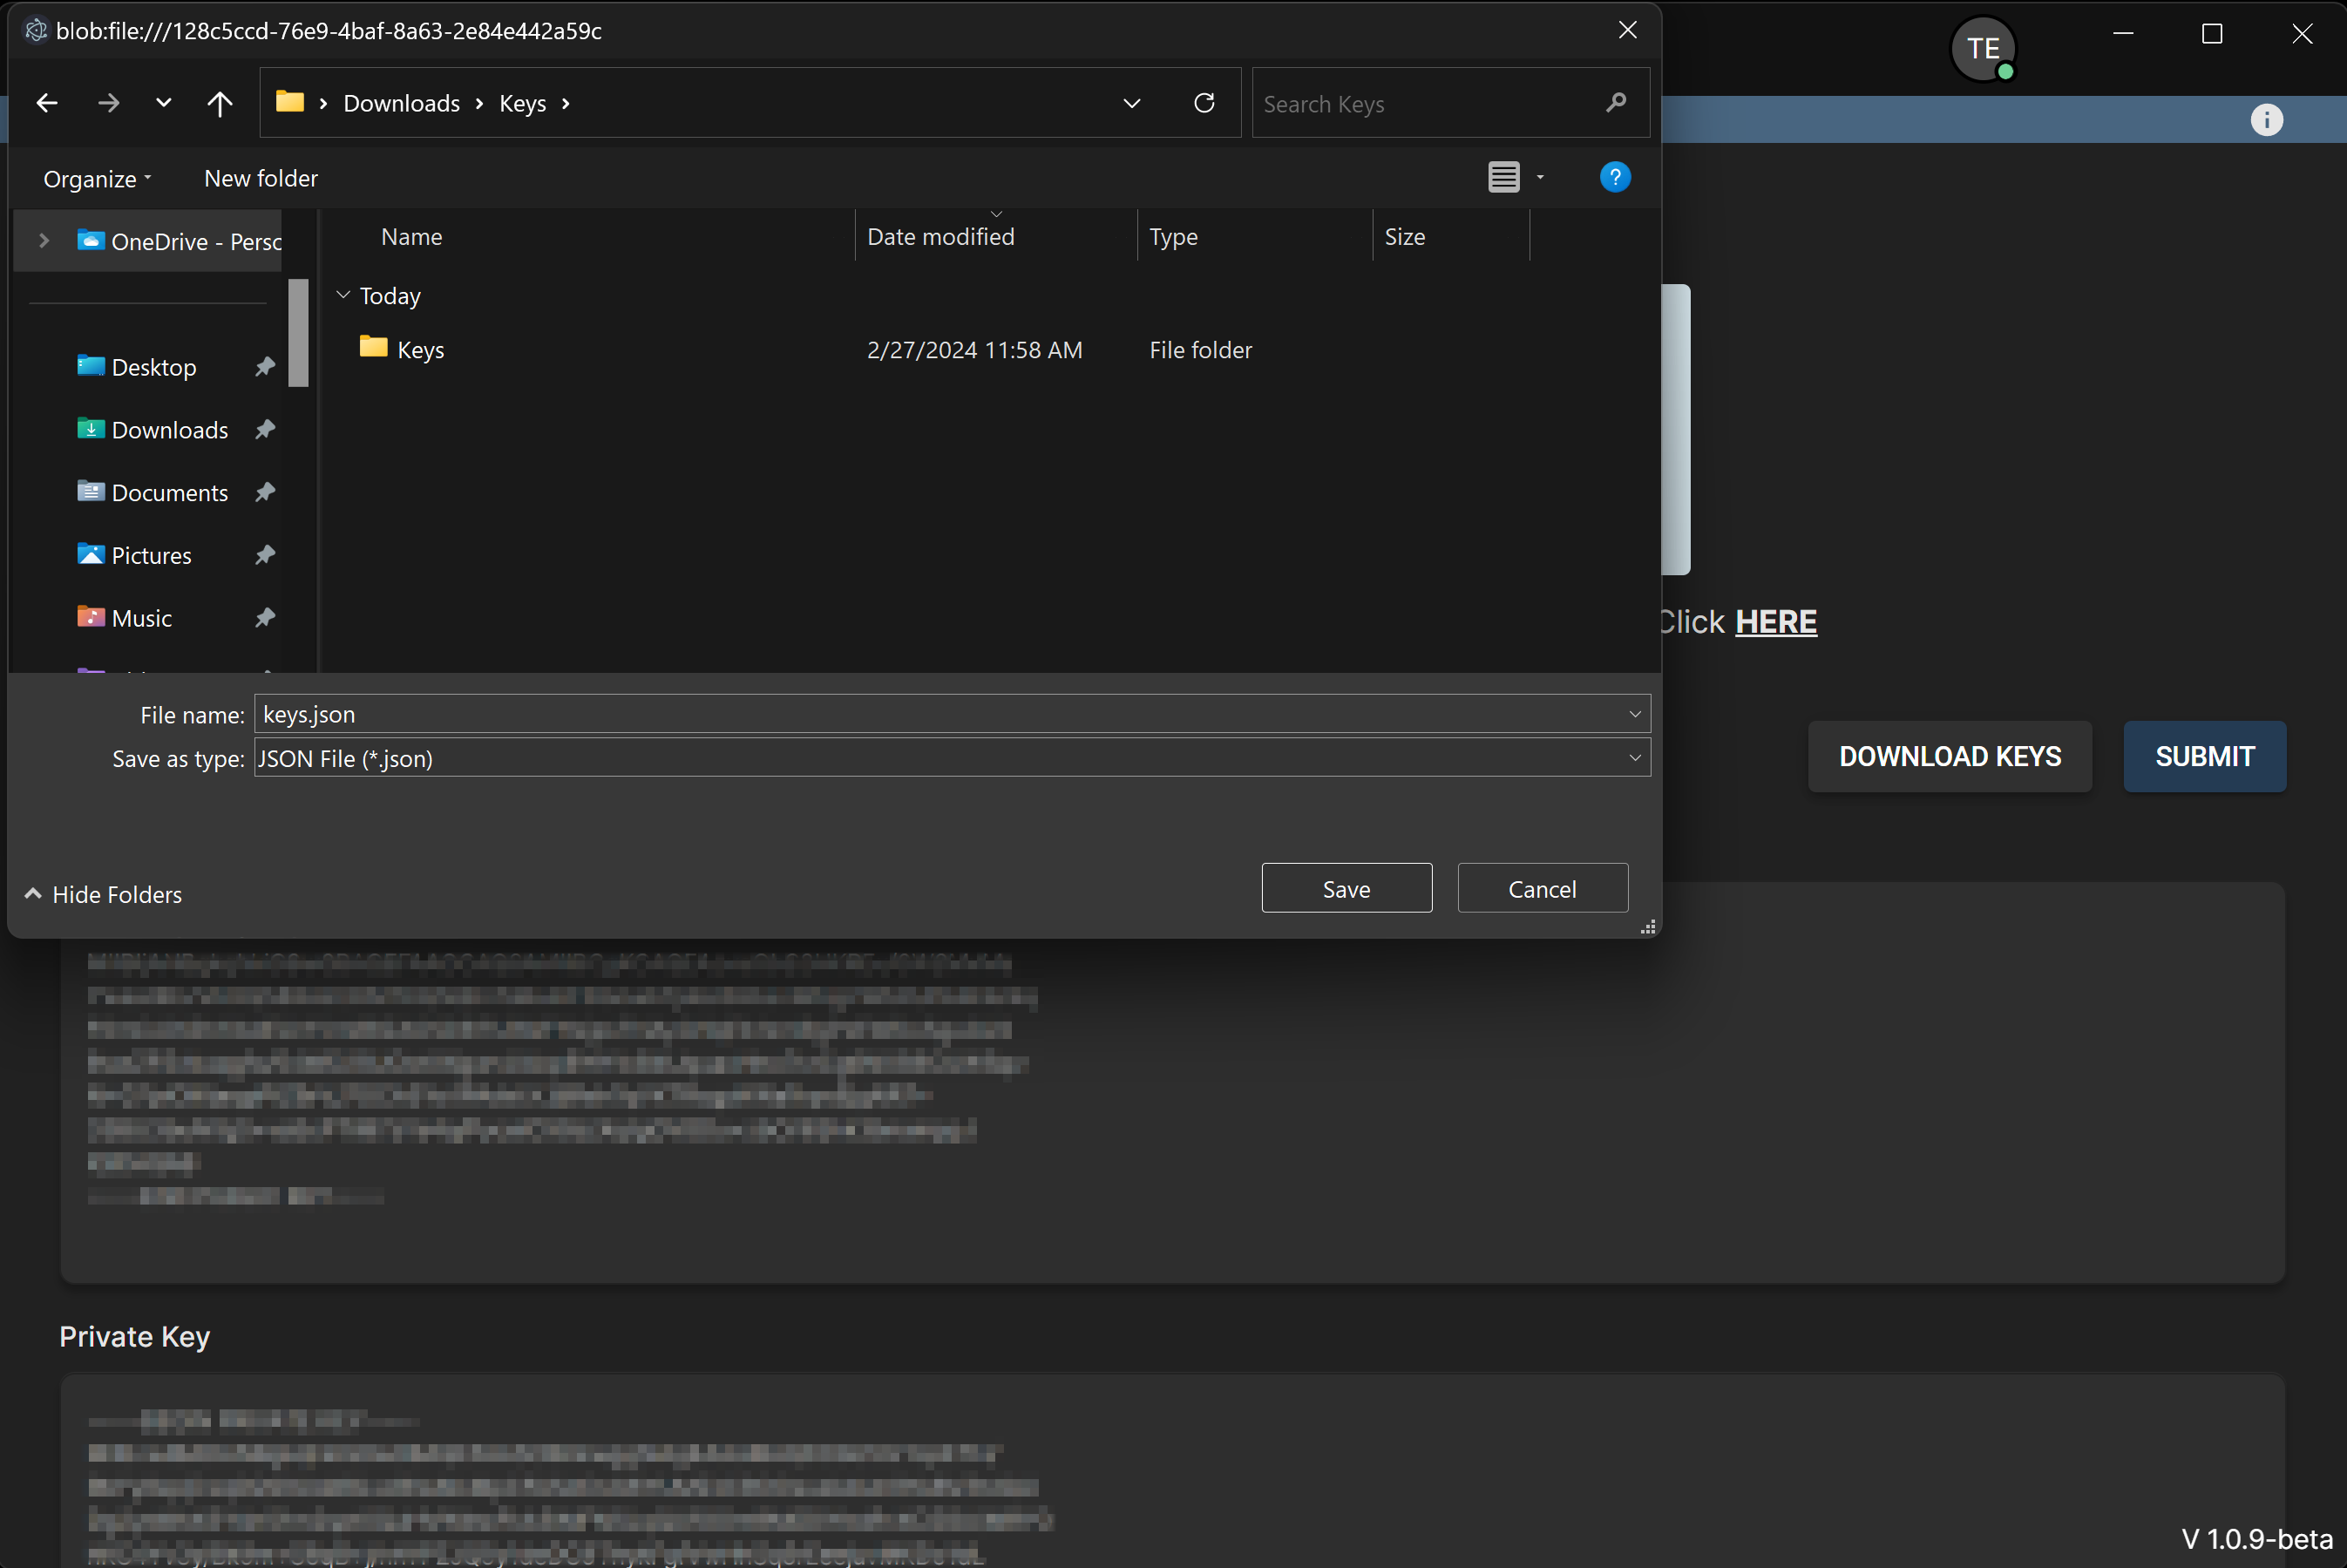
- After downloading the key pair, click the
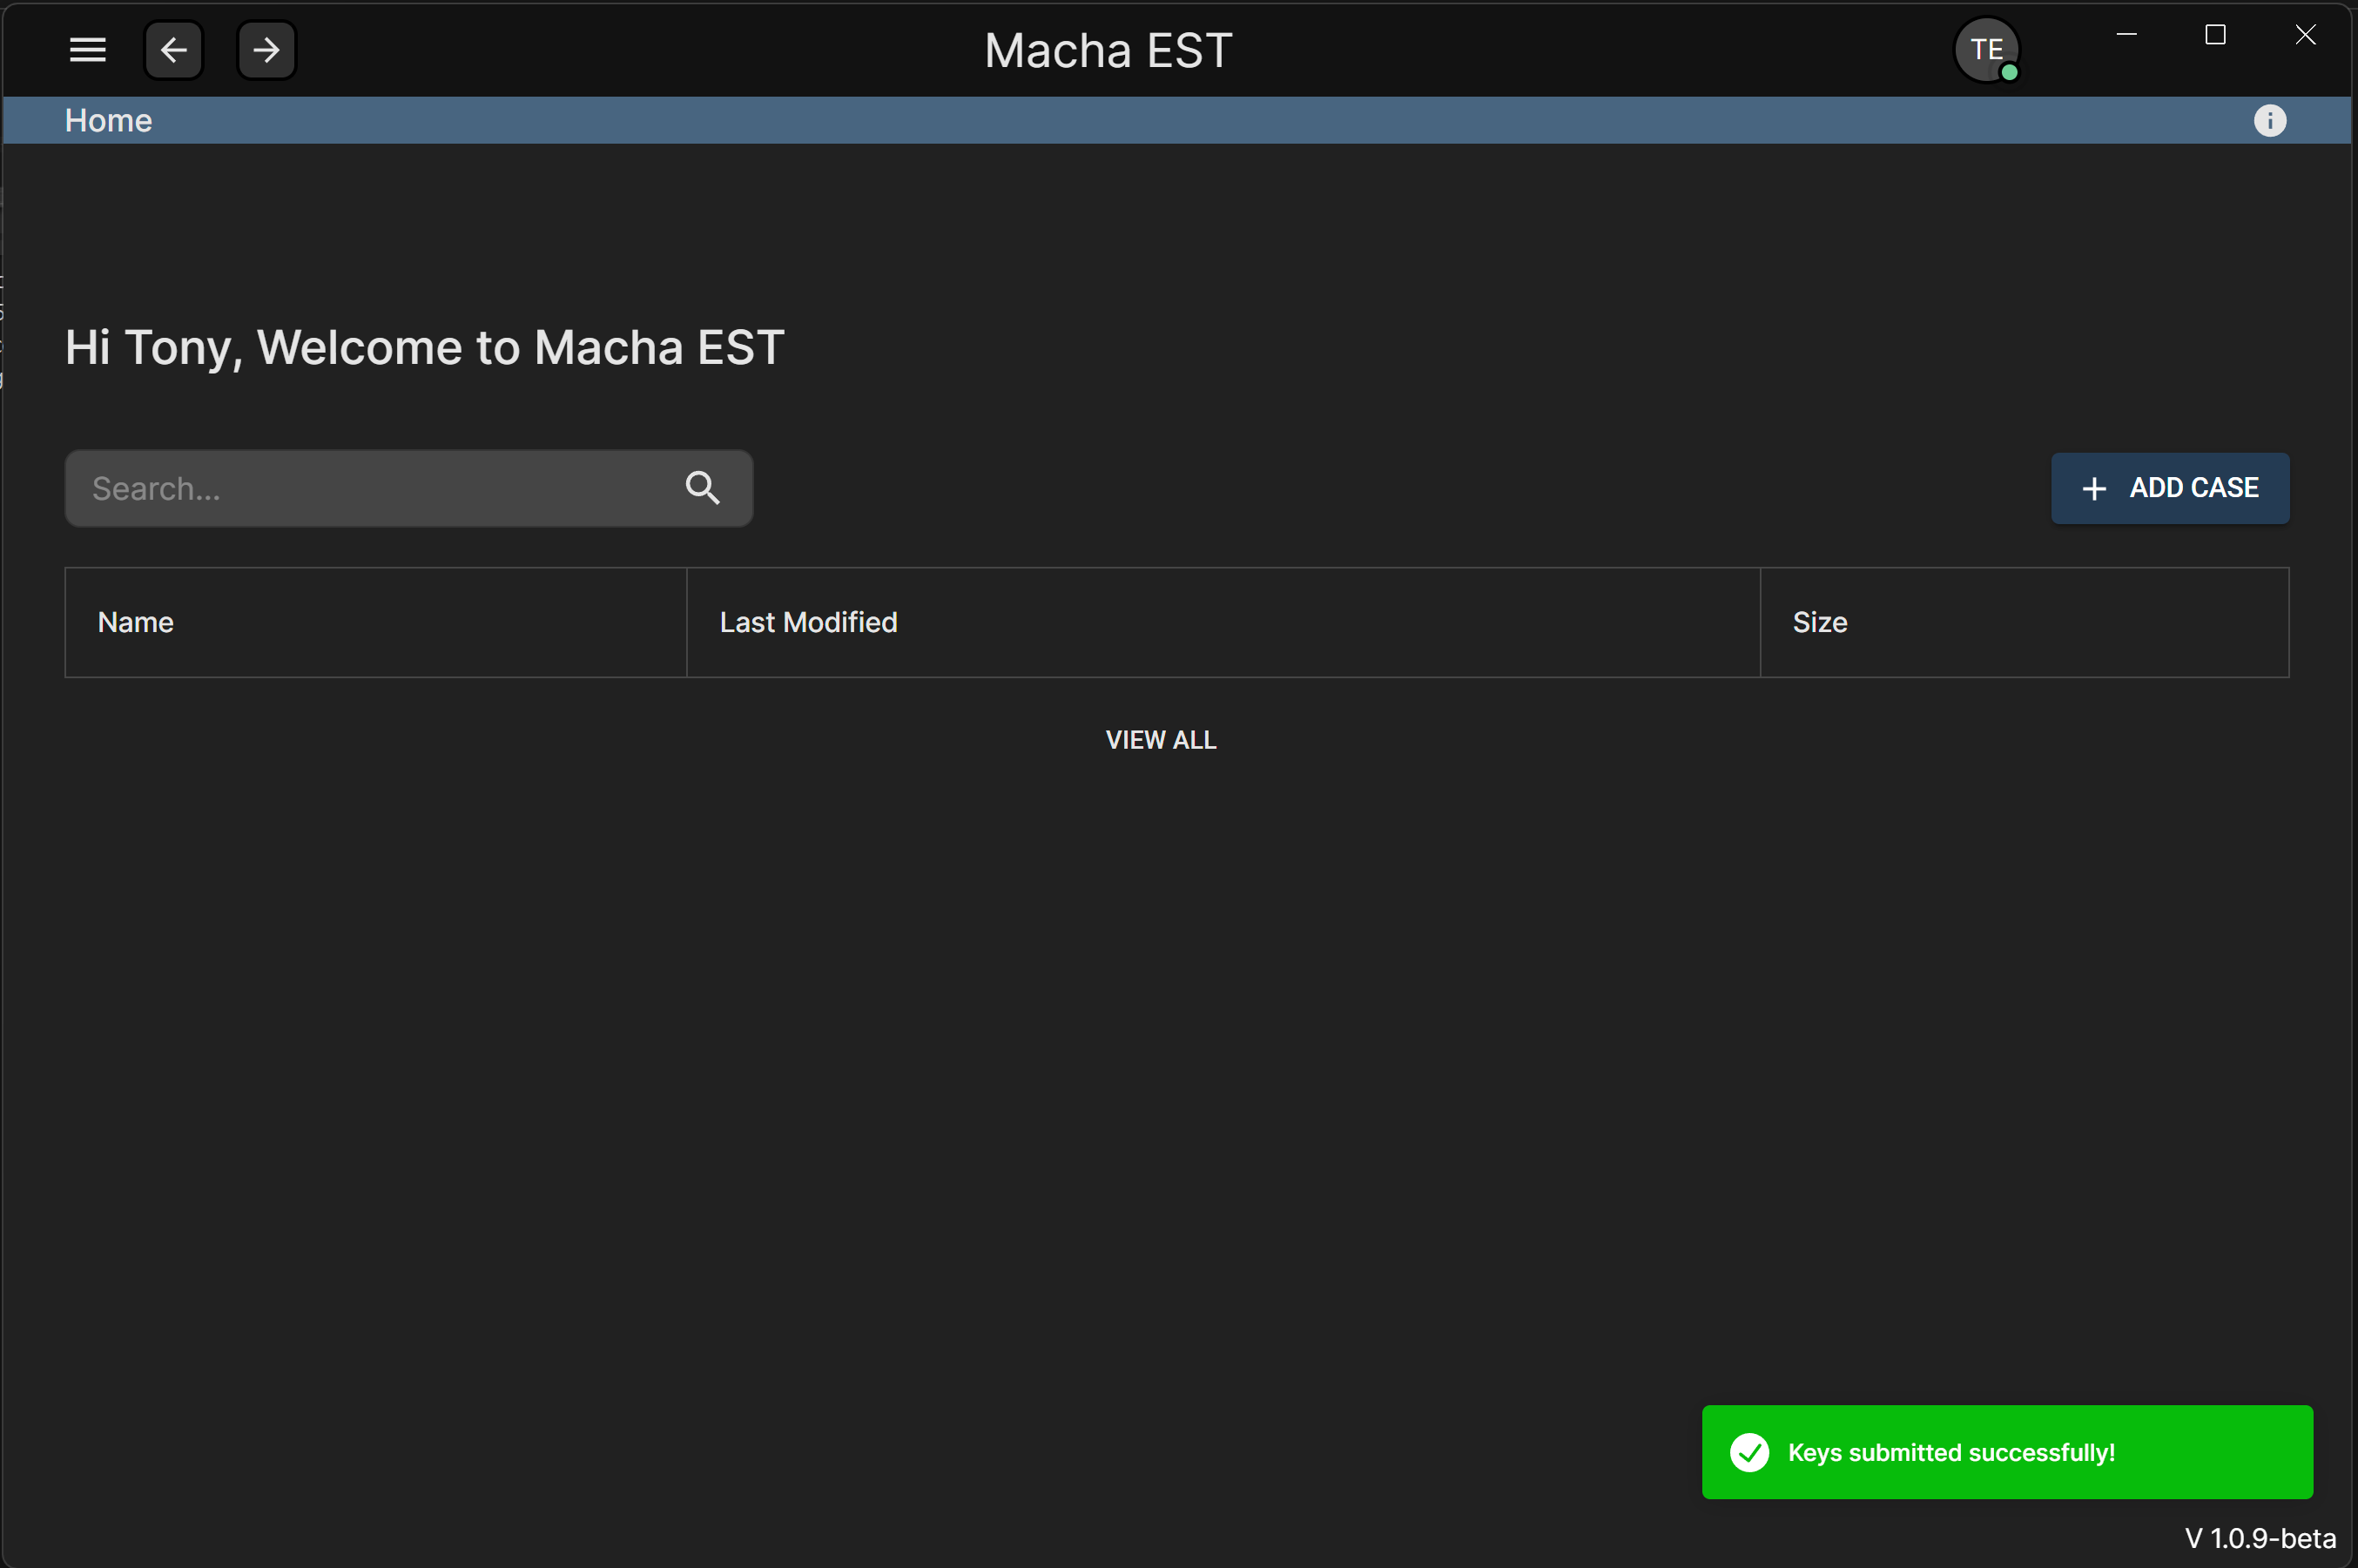
Save Keysbutton to save the key pair to the application. This will allow you to use the key pair to encrypt and decrypt data.
- You can view your keys, by navigating to the keys page.
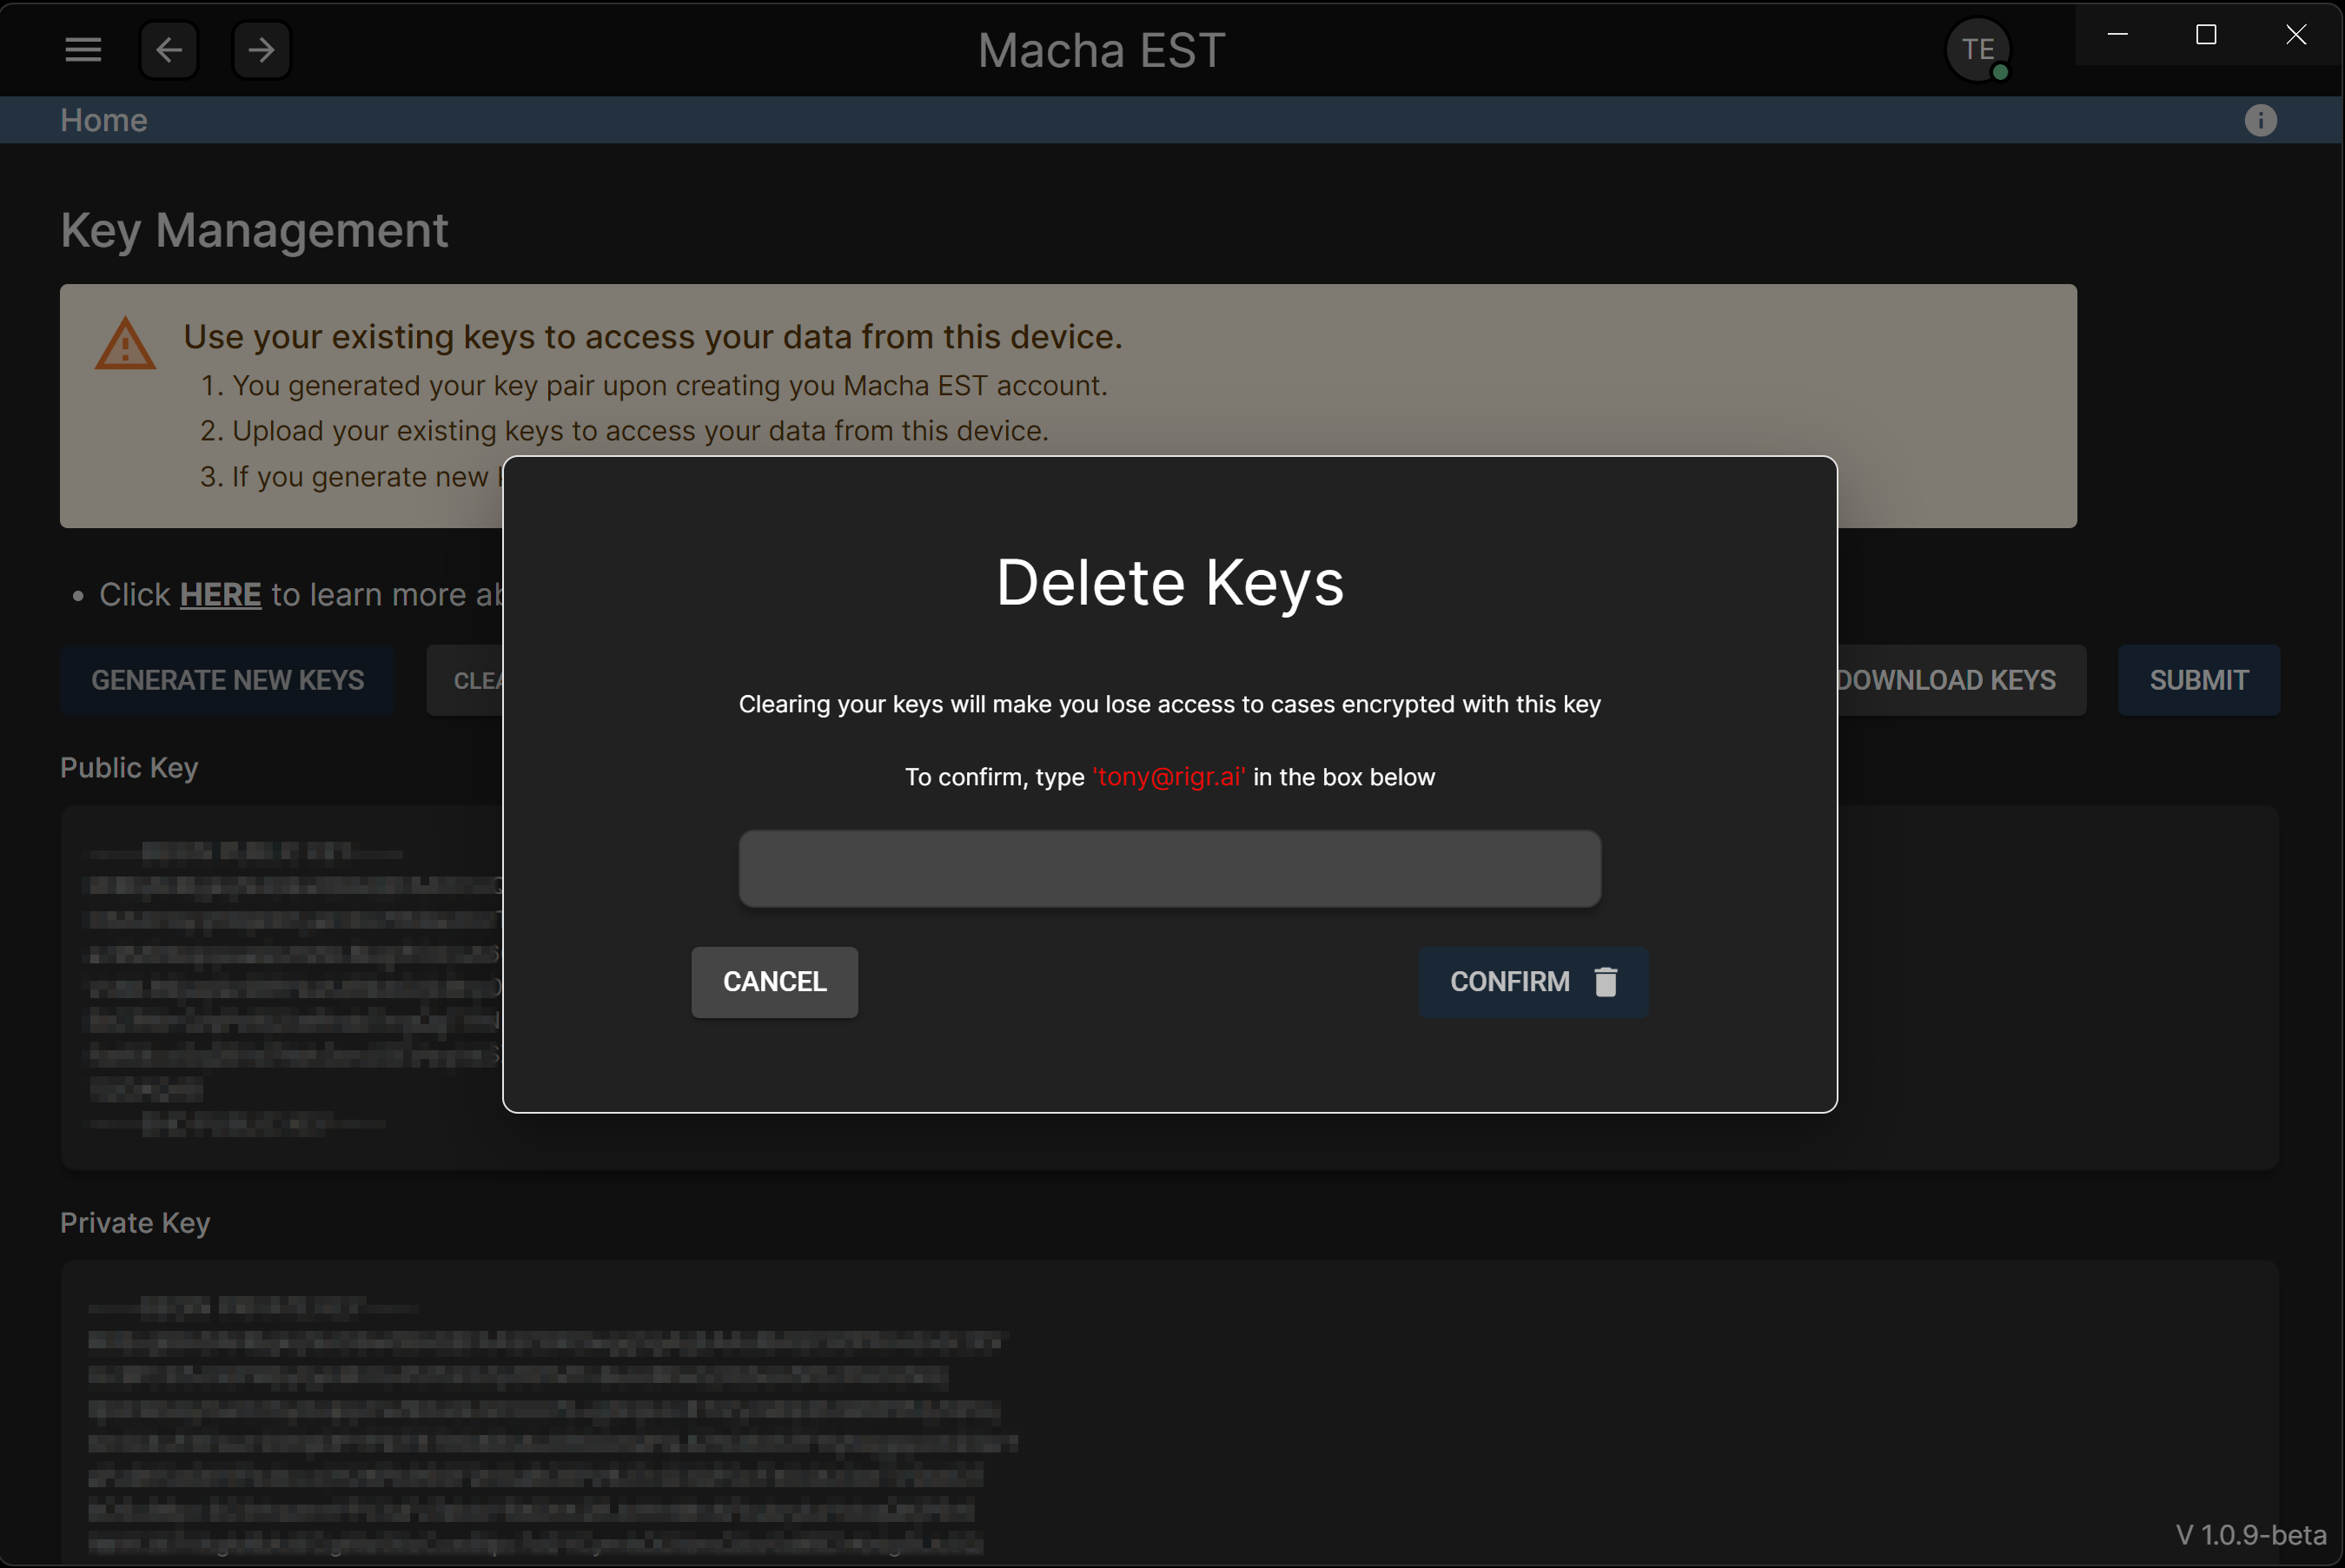
NOTE: You cannot modify or delete the key pair once it has been saved. You can only clear the key pairs. Please ensure that you have a backup of the keys before clearing them.
 Keys Page
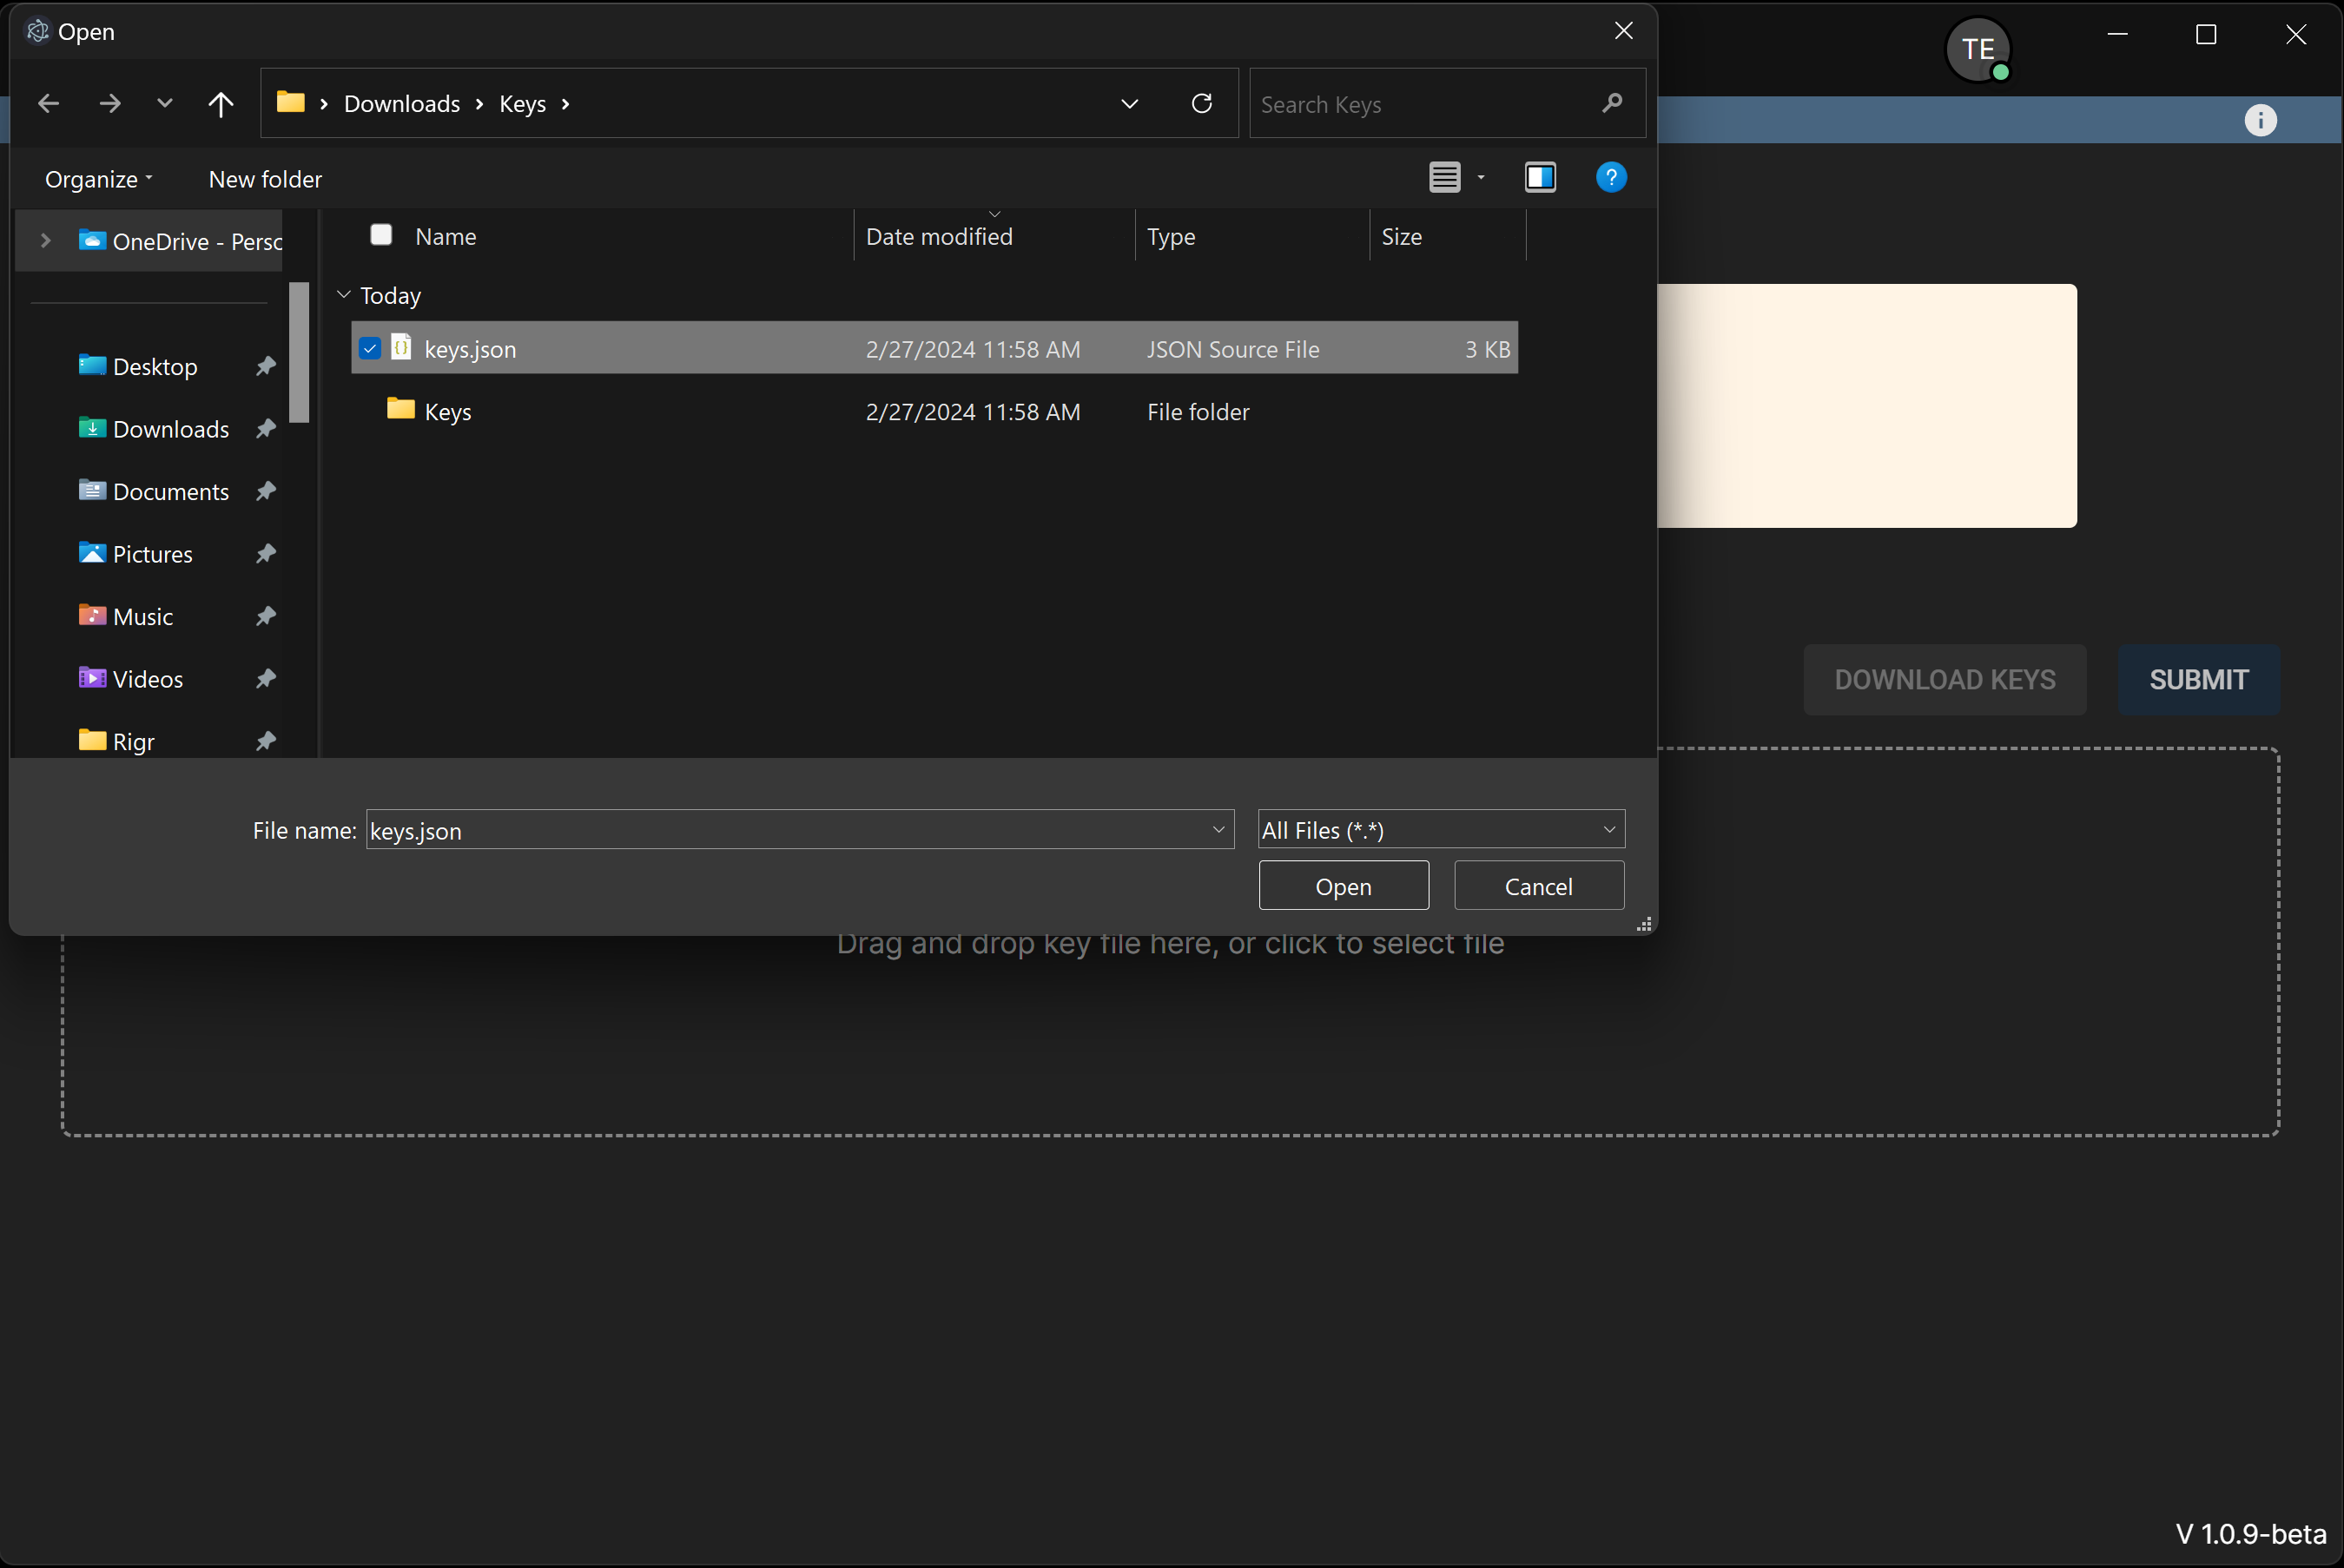
Adding Keys
NOTE: If you are logging in from a new device, the app will prompt you to upload your existing keys.
- To add a key pair, click on the dashed box to select the key file or drag and drop the key file into the dashed box area.
Clearing/Changing Keys
- To clear the key pair, click on the
Clearbutton. This will only clear the keys but not delete them from the application. Please ensure that you have a backup of the keys before clearing them.
Clearing keys is a High Risk Action, you will lose access to all case data encrypted with said keys.