Handling Evidence
Pre-requisites
Ensure that you have the Macha EST application installed and configured. Additionally, make sure you’ve created an account, generated, and saved your Macha EST keys, and have at least one case associated with your account. For more details, please refer to:
Evidence
Uploading Evidence
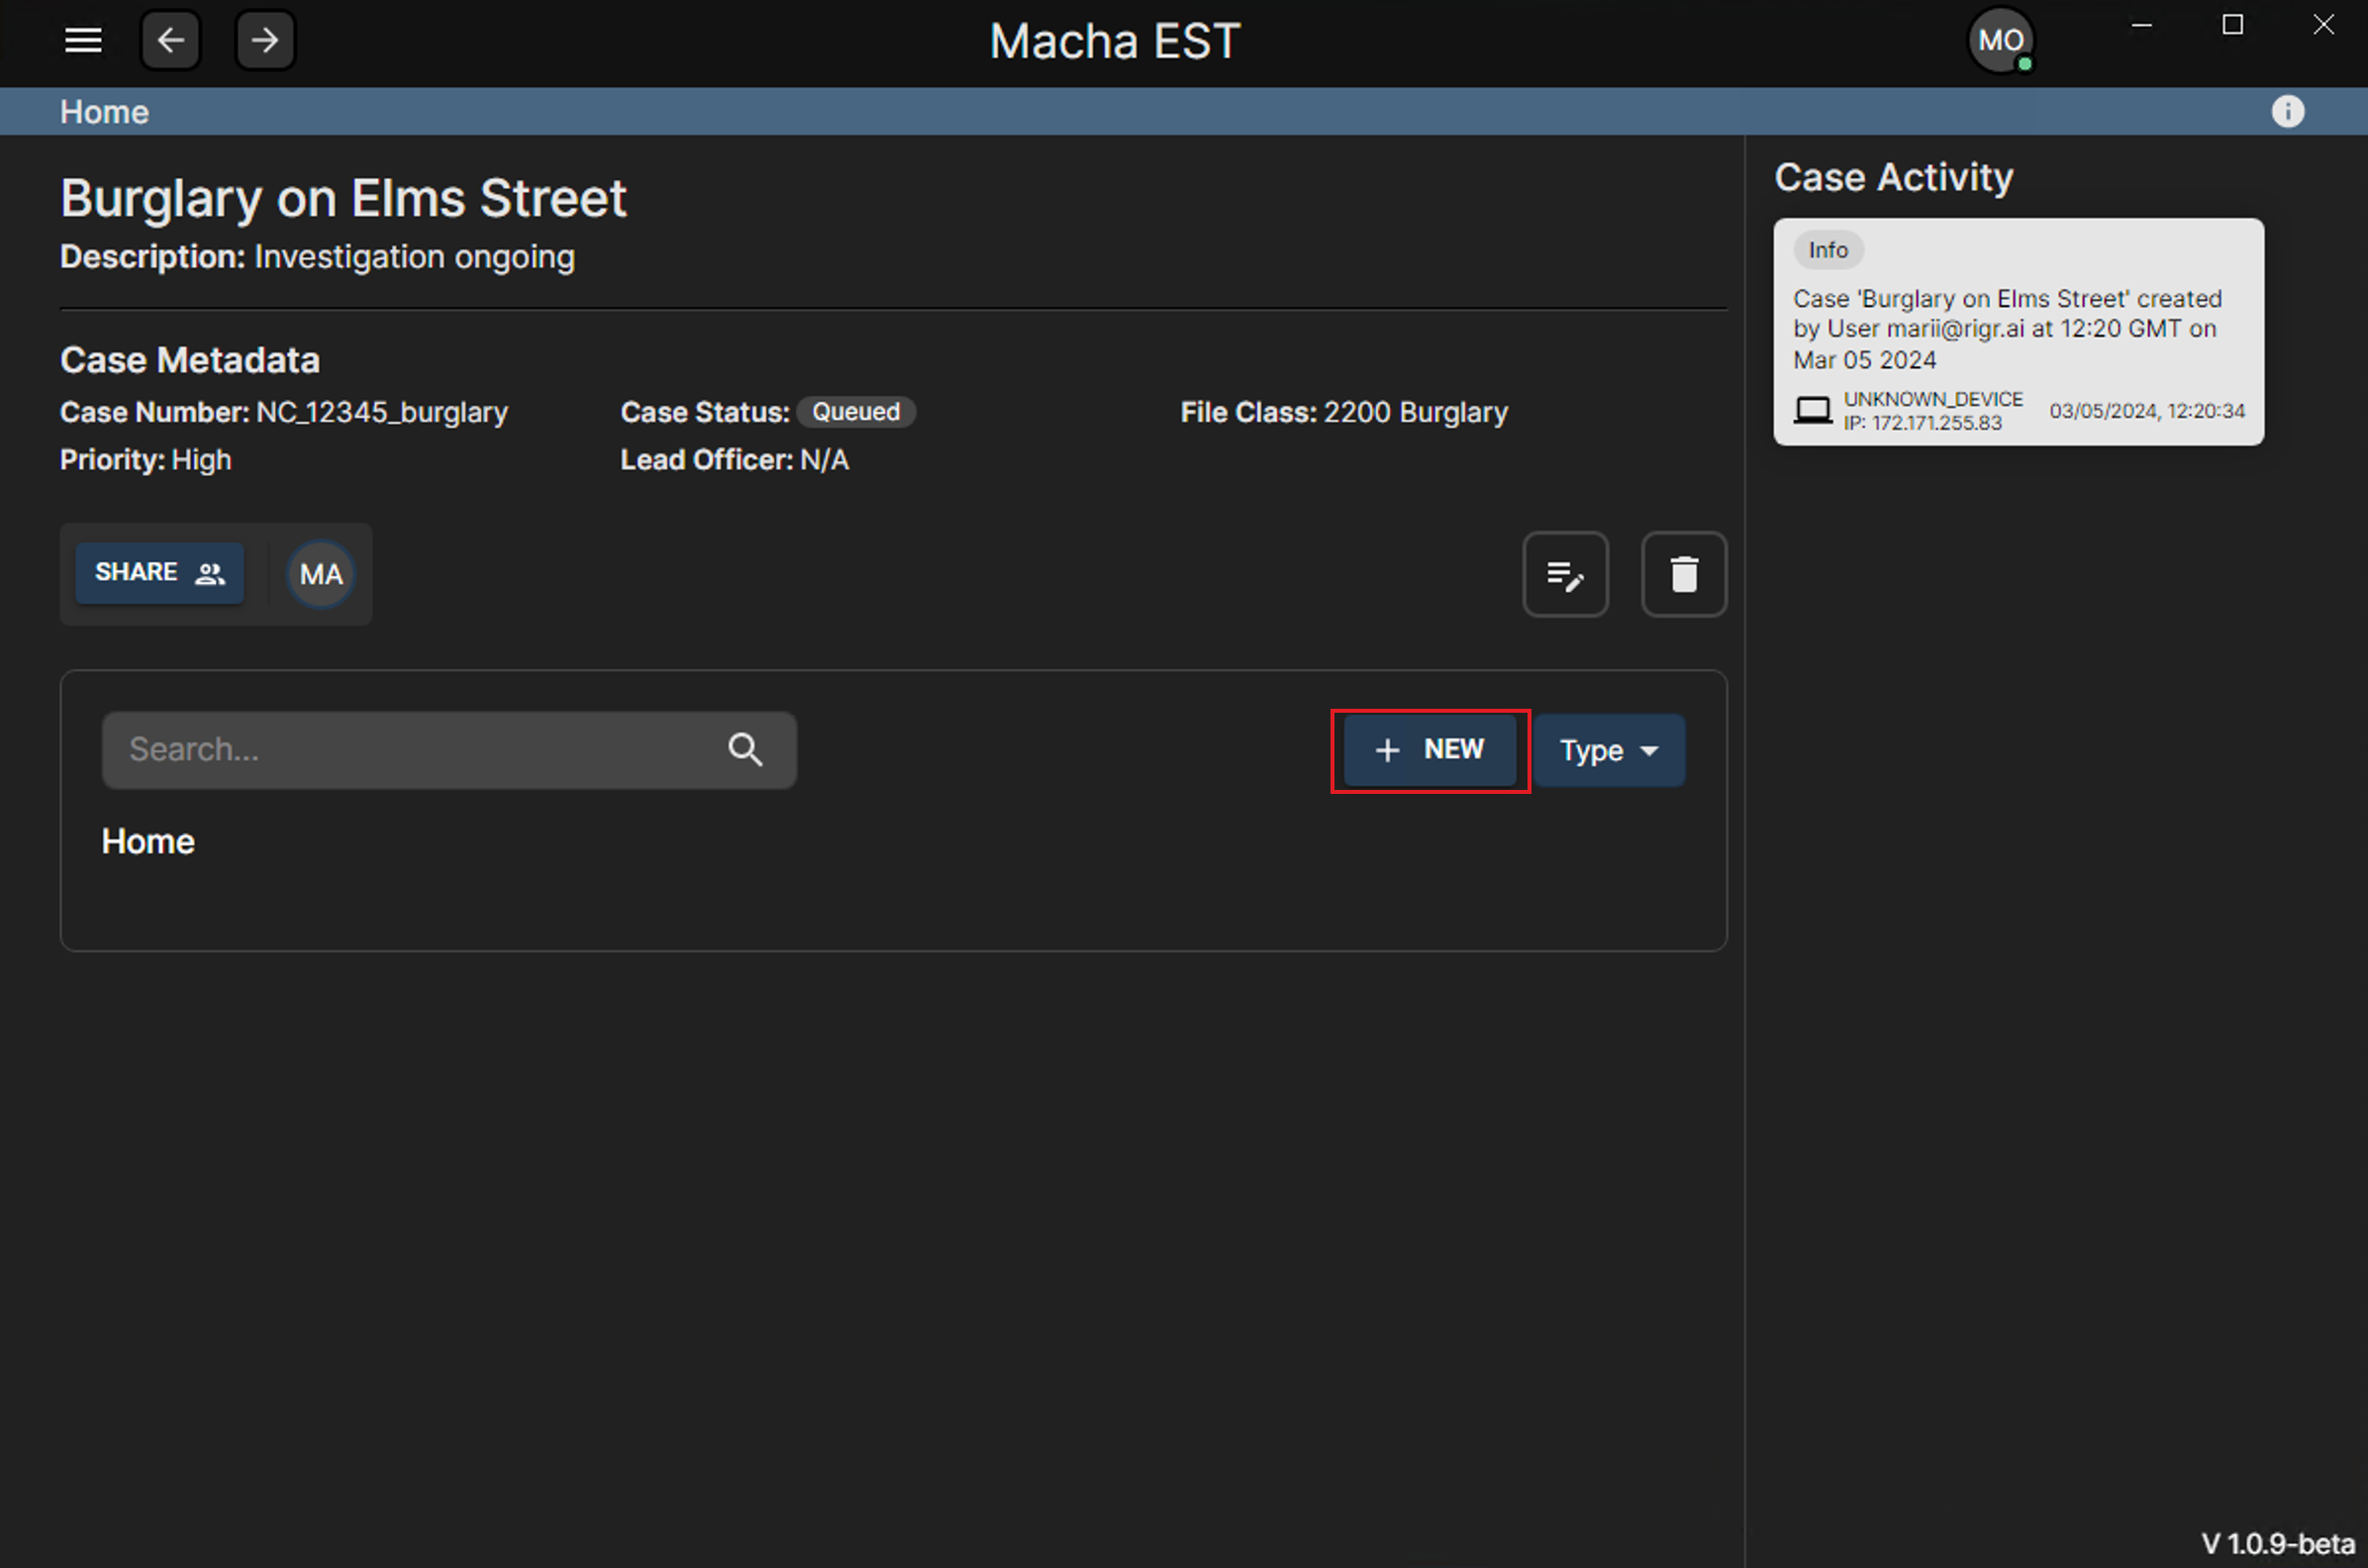
- To upload evidence, click the
+ Newbutton on the top right of the evidence section. - Click the dashed box to select the file(s) you want to upload, or drag and drop the file(s) into the box.
- Add an optional description for the evidence.
- Click the
Uploadbutton to upload the evidence. - You can navigate away from this screen while the uploading process continues in the background. The progress is indicated at the bottom right corner of the screen.
- The Recent Activities panel will record all evidence uploads.
 Evidence upload flow
Downloading Evidence
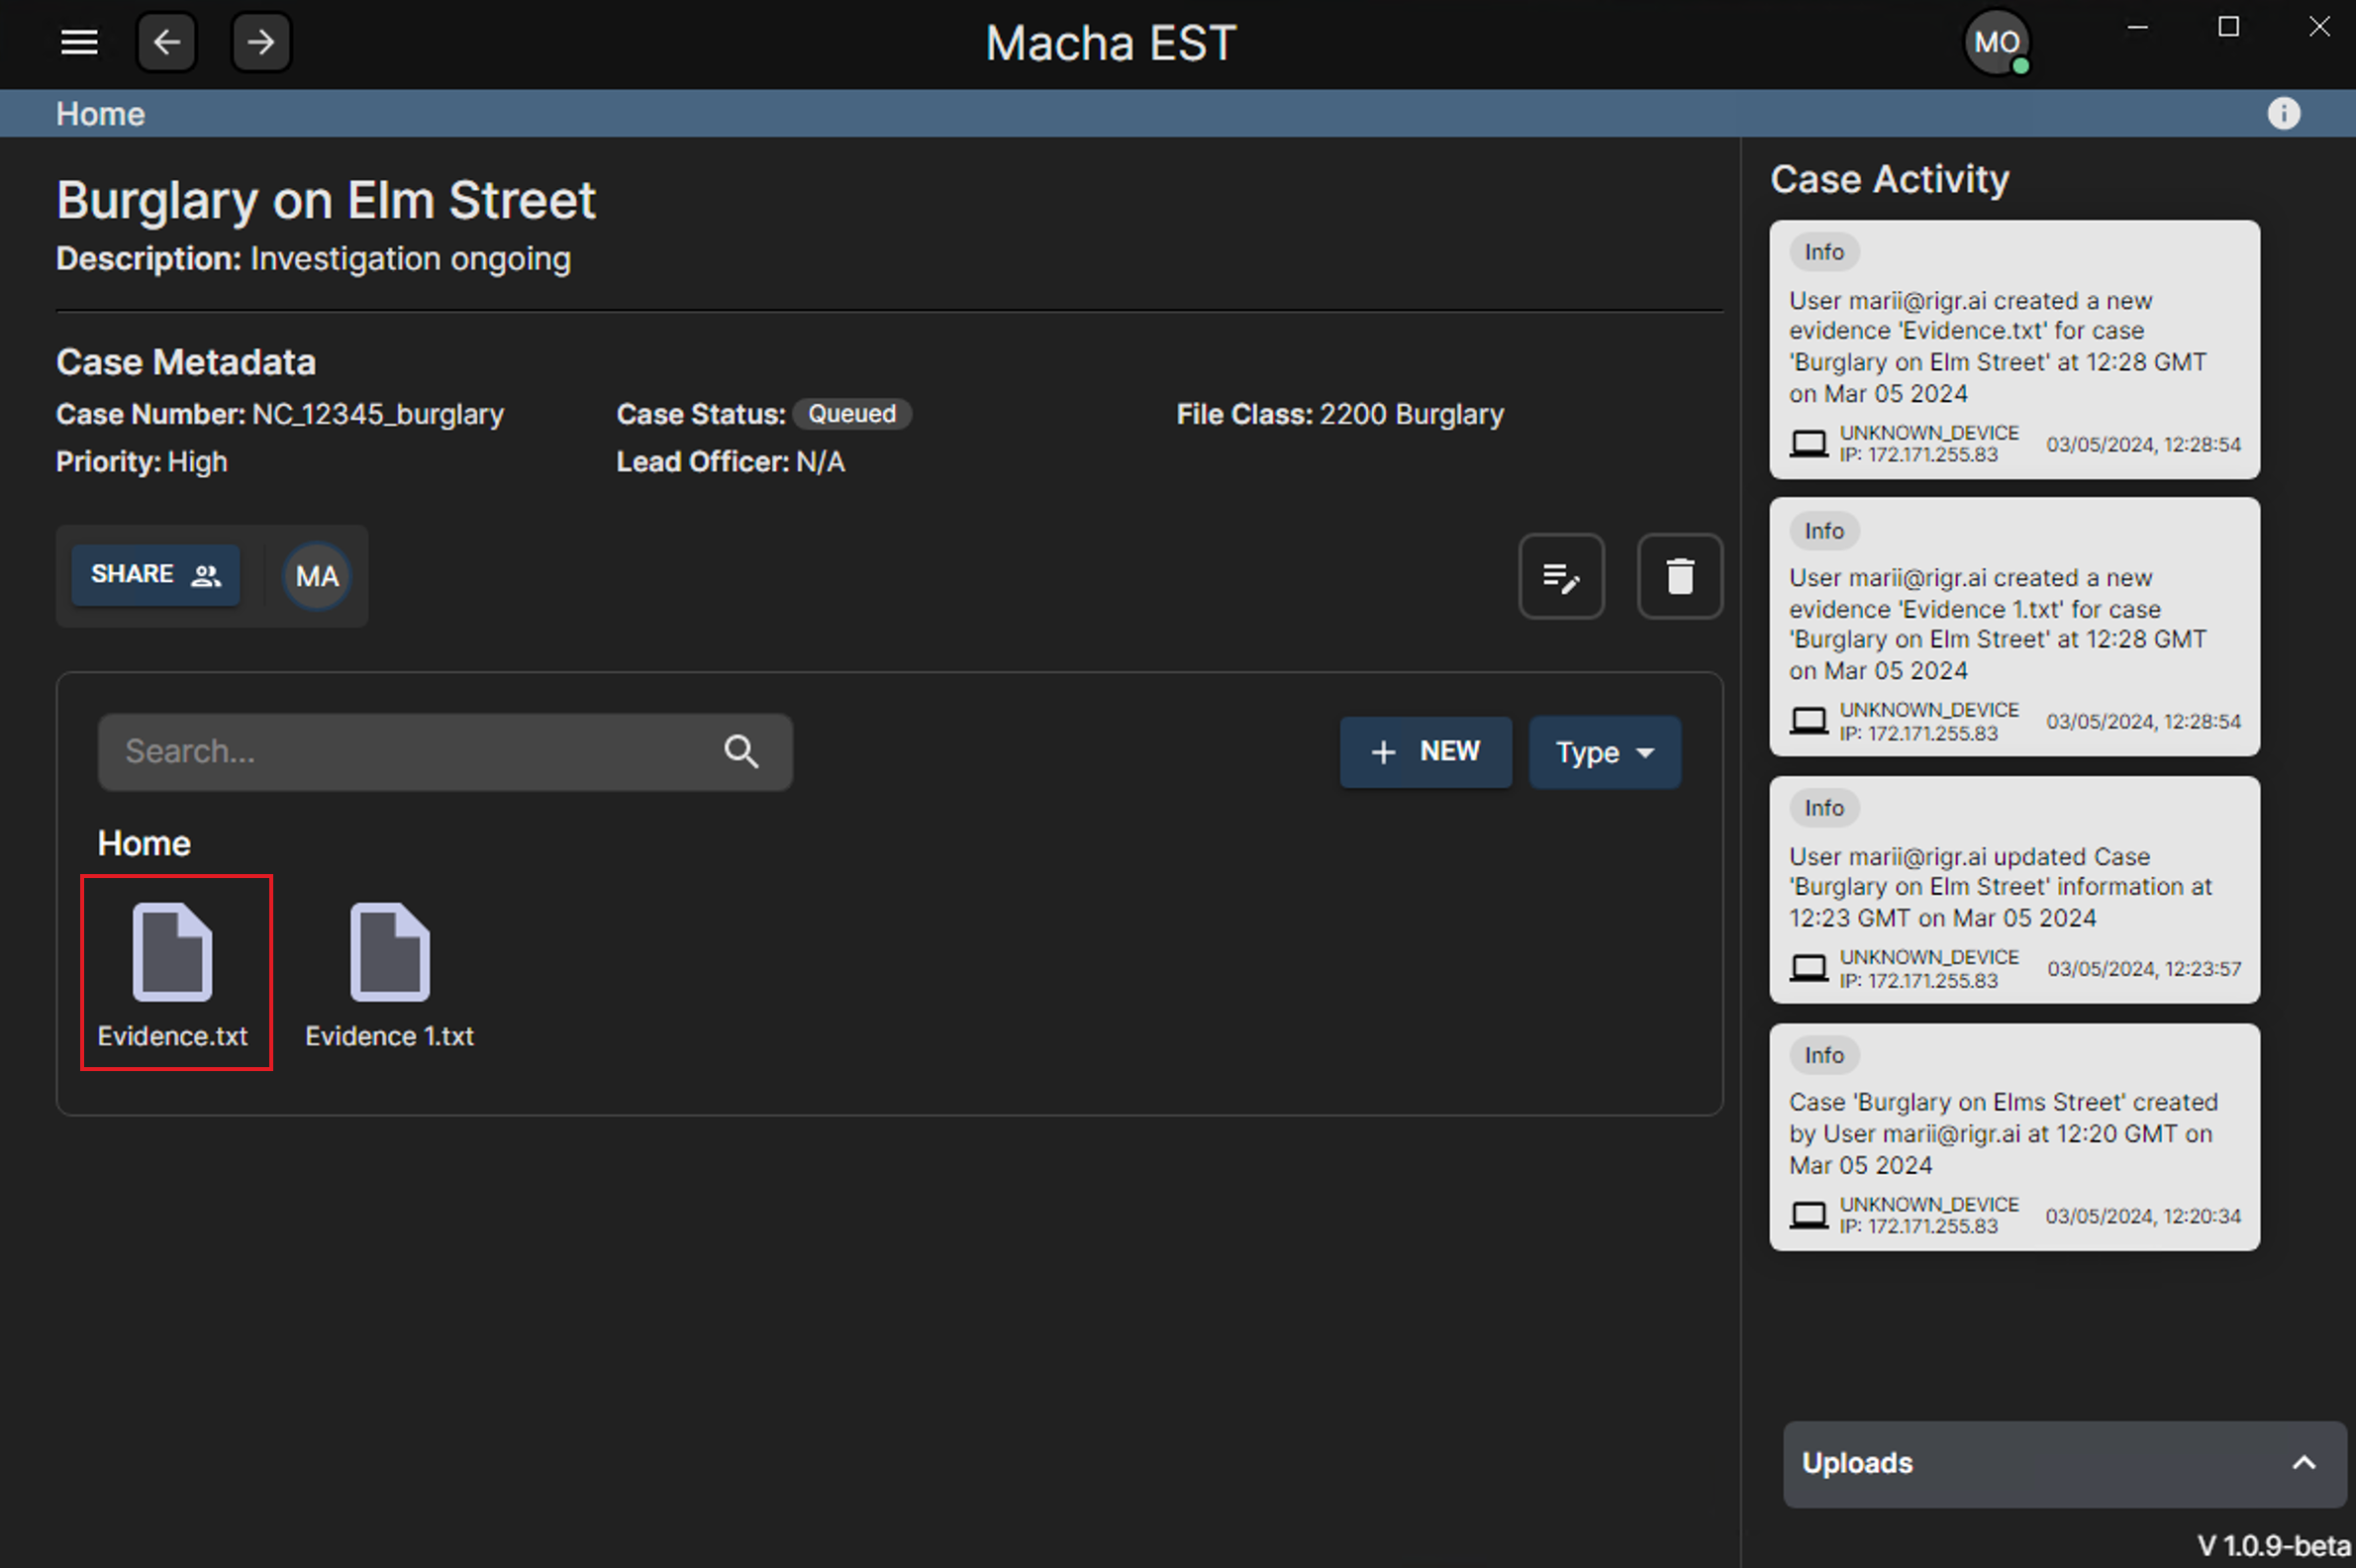
- To download evidence, click on the evidence you want to download.
- You will be prompted to choose a location to save the evidence to.
- After choosing a location, the download will begin, and you can monitor the download progress at the bottom left of the screen.
Deleting Evidence
Evidences are tied to the cases they are uploaded to, and cannot be deleted individually. To delete an evidence, you will need to delete the case it is associated with.
This post is licensed under CC BY 4.0 by the author.